I came across Hugo recently, a ridiculously fast website framework which is perfect for setting up a simple blog, serving up static webpages (which is something I love). Two hours later, I had purchased a domain via Namecheap, setup a Debian VPS with Vultr and was ready to begin the project.
Installing Nginx
Nginx is a great, open source choice to run a simple blog like this one, it’s lightweight and fairly easy to get setup. Nginx is available in all major distro repositories, on a Debian you can install Nginx using apt:
| |
On a Red Hat based distro, you can install Nginx using yum:
| |
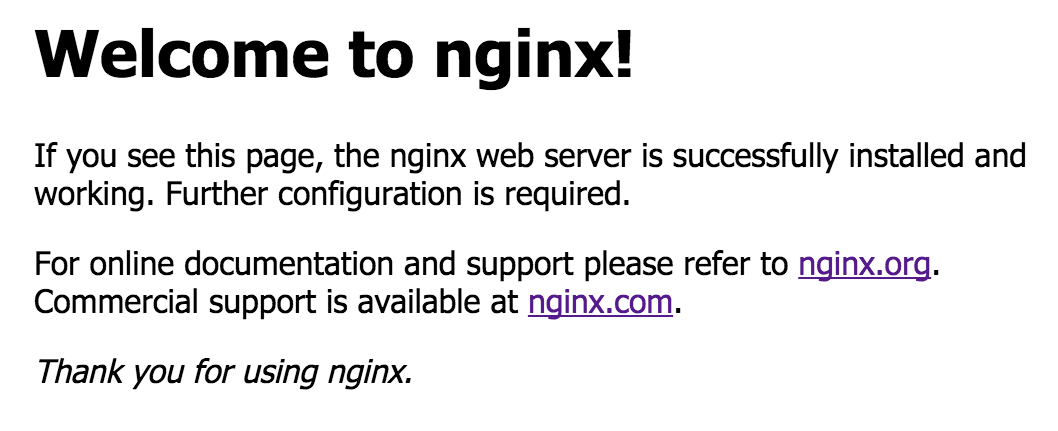
Once installed, start the service and confirm you can reach the default Nginx landing page by visiting your site.
| |

Looks good! If you get to this stage, your server is accepting connections to port 80. If not, check your server is listening on port 80:
| |
If you get no output, Nginx hasn’t started correctly. If you get output, but you still can’t hit the landing page, check your firewall is allowing connections to port 80.
Installing Hugo
Hugo is a fast and modern static site generator written in Go and can be installed on just about anything. Grab the latest release from Hugo’s Github repository and run the following command:
| |
If you get some output, Hugo is ready to go. If you don’t get any output, ensure that the Hugo binary is in your $PATH variable, this will differ based on OS. On Linux you can execute $PATH, this will print out the locations your terminal is able to run programs from.
| |
Creating your site
Assuming you have Hugo working as expected, you may want to create a new directory for your site contents to live in. In my case, I setup a folder in /home/ named sites, then ran the following command:
| |
Hugo will go ahead and create a directory structure which looks like this:
| |
To find out a bit more about how this all ties into your site generation, check the Hugo documentation.
Adding a theme to Hugo
Hugo has a great collection of themes on their website to choose from, I chose the hello-friend-ng for my blog. Follow the instructions to download your theme of choice and save the theme into your themes/ folder in your sites contents. Finally, add the theme name to your config.toml file in the root of your site contents:
| |
Creating a post
Now for the actual content. Run the following command to create a new post:
| |
Hugo will create a new post named my-first-post in your content/posts folder. Make all of the edits to this file you would like to make, then save your changes.
Generating your site
After all of these changes to your site, adding your theme and creating your first post you should generate your site. This is the real power behind Hugo, simply change directory into your site folder, and run:
| |
Configuring Nginx
You should have Nginx installed at this point, if not, refer back to the first section of this article for instruction.
We need write out a configuration file, so Nginx knows what content to serve to users visiting your site. Luckily for us, Nginx installs with a default site configuration file which we can copy and use for our site:
| |
Now we have a copy of the default configuration file, open your site file in your favourite text editor. A lot of this file is taken up by comments, without comments, your site config should look something like this:
| |
To enable the site, add a symlink from your site’s location into the /etc/nginx/sites-enabled:
| |
Finally, enable and restart the Nginx service:
| |
Adding SSL to your site
Adding SSL to your site has never been easier and best of all, it’s completely free! There are a myriad of reasons to add SSL to your site which I won’t go into detail in, in this blog post. Just do it.
Visit the certbot site to get detailed instructions for installing on your OS and web server of choice.
Conclusion
Assuming you ran through this article without any errors, your site should be up and running! Hugo is a fantastic project and I have had a great time so far getting it installed and setup.